Your Claude Code + GitHub Starter Pack
Building Smarter for Less.
Stop paying for AI app builders. Lovable, Replit, Bolt, Github Copilot, the list of no-code, AI app-builders goes on and on.
Most of us start with no‑code platforms because it’s quick & easy. You do a quick text-to-prompt, click publish, and you’re an app developer now!
Then the invoices stack up. You need one more feature, they introduce “agent mode”, you hit a plan limit, or the price jumps. New AI model updates are only for the “pro plan”! Shocking.
This guide shows a simpler path: keep no‑code platforms for experiments, but run the important parts with Claude Code (AI that edits your project with your approval) and GitHub (a safe place to save your work with history). The result is lower cost, fewer surprises, and changes you can trust.
What we’re doing (in normal words)
Let’s set up your vibe coding starter pack. This can apply to other AI setups, such as OpenAI Codex, or Gemini CLI.
Claude Code: you describe the change in plain English; it proposes a small edit; you approve before anything is saved.
GitHub: every approved change is saved with a short message so you can see what changed and go back if needed. Later, connect this repo to Vercel so each push auto‑deploys a live app on its free Hobby tier.
The terminal: just a window where you type a few commands. You don’t need to memorize code. Use any terminal you like, but I prefer iTerm2 for customization (nerd alert).
Use this combo when you’re paying a lot for platforms like page builders, hosted sandboxes (e.g., Replit, Lovable, Bolt), or all‑in‑one tools that keep raising limits. Keep no‑code for prototypes and throwaway ideas.
Quick setup
Install Claude Code
Open your terminal in your project folder (I like to store my GitHub projects in /github) and run:
npm install -g @anthropic-ai/claude-code
cd /your/project
claudeSign in once when prompted. From now on, you can ask for changes in plain English, review the proposed diff (what will be added/removed), and approve or reject.
Set up GitHub (account + Desktop)
Create a free account at GitHub.com.
Install GitHub Desktop (Mac/Windows) and sign in.
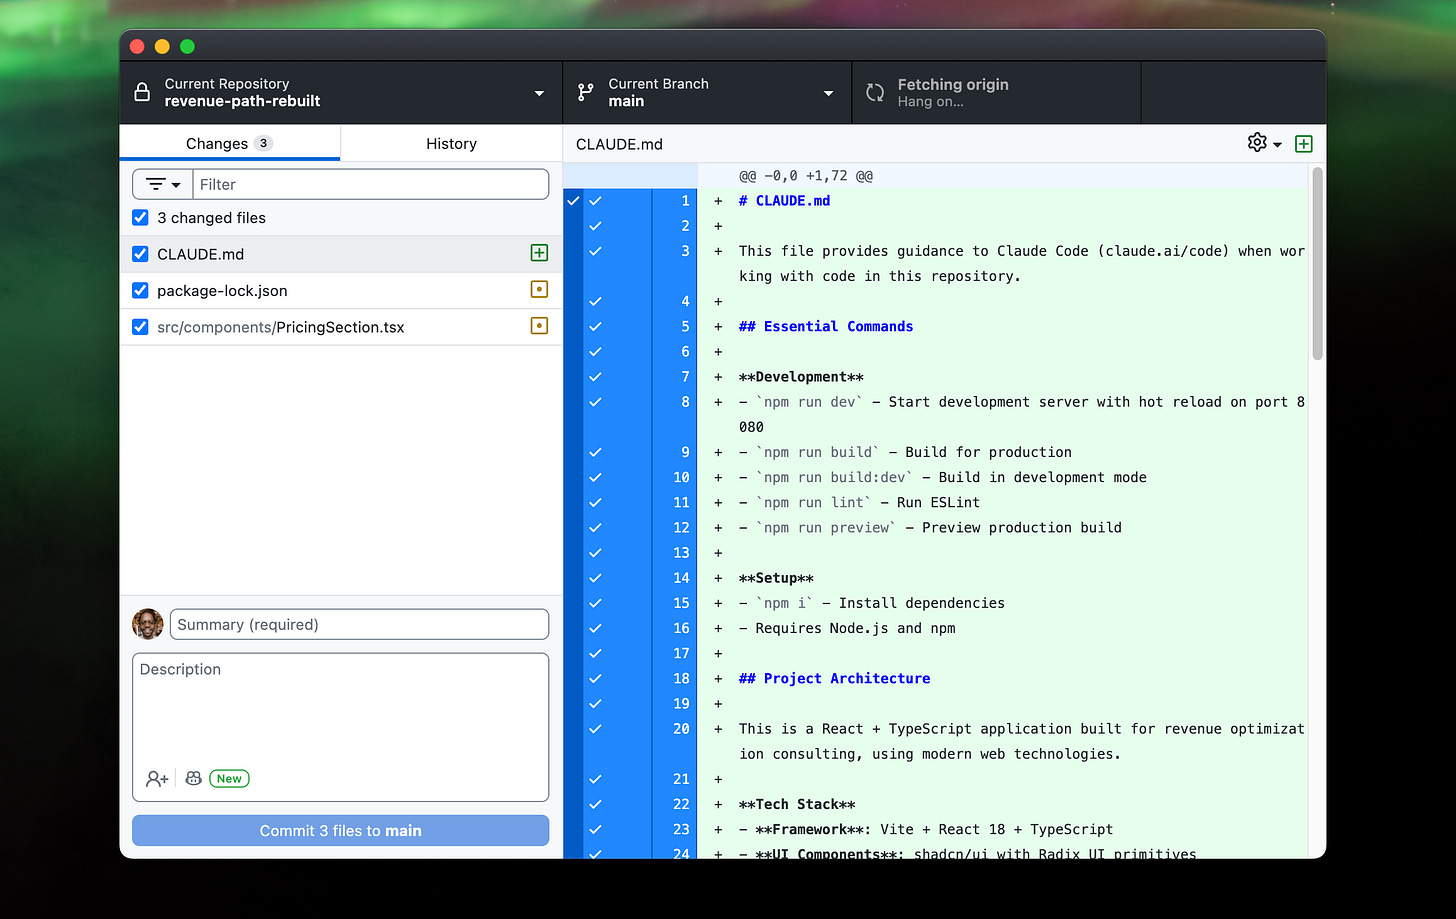
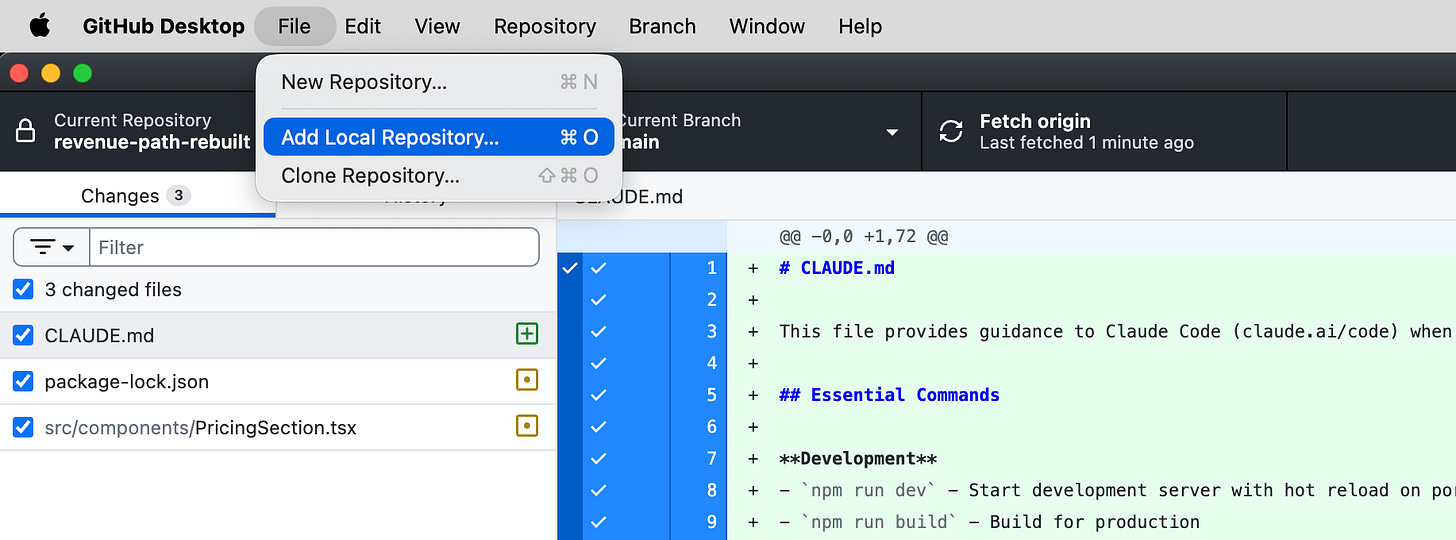
File → Add Local Repository… and choose your project folder. If it offers to initialize Git, accept.
Already have a repo on GitHub? File → Clone Repository and choose your repo/project folder.
Make your first Commit with a short message like chore: initialize repo, then Publish (Private is fine).
That’s all you need to start working with Claude and saving changes safely.
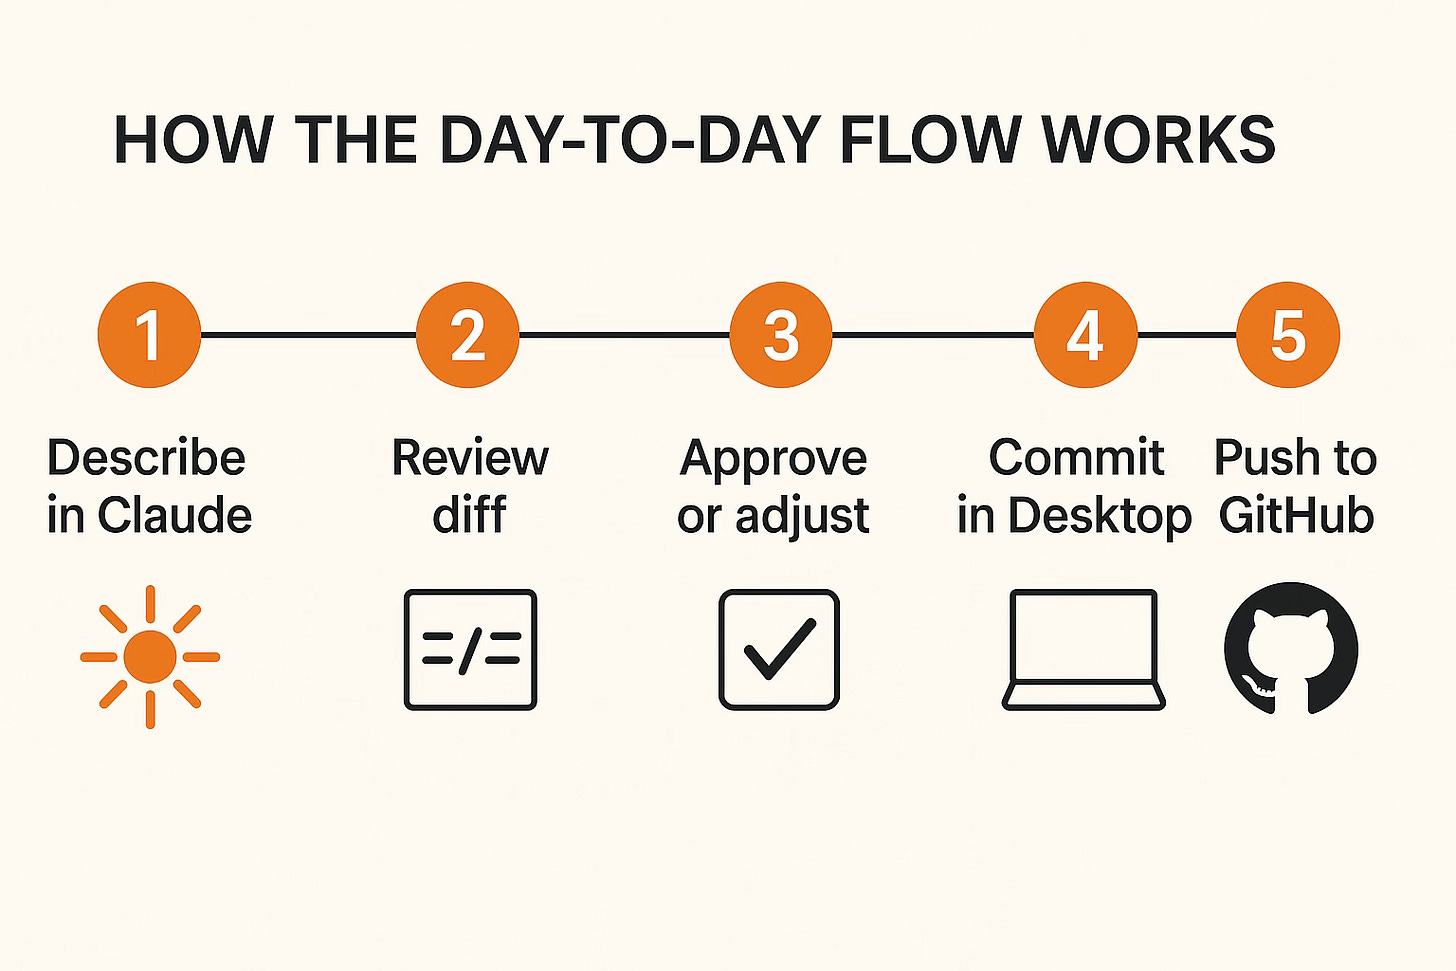
How the day‑to‑day flow works
Describe the outcome in Claude: “Fix the signup error” or “Add a welcome email after signup.”
Review the proposal: it shows exactly what lines will change.
Approve if it looks right; otherwise ask for an adjustment.
Commit in GitHub Desktop with a short message.
Push to back it up and share.
Small steps beat big leaps. Aim for a few focused changes per session. When you feel comfortable, you can enable auto-accept edits for full agentic coding!
When to keep no‑code vs. when to switch
Keep no‑code apps for landing pages, simple forms, or early tests.
Switch when you hit usage limits, need a custom step, have privacy concerns, need more control over your code or the monthly cost keeps growing.
A useful rule: if the feature runs daily or handles customer data, own it in your repo.
A one‑week starter plan
Day 1: Ask Claude to explain your project and list safe fixes. Approve nothing yet.
Day 2: Approve one tiny fix (wording, small bug). Commit and push.
Day 3: Ask Claude to add one basic test or check to prevent a common mistake.
Day 4: Replace one paid/no‑code step with a small script (e.g., resize images, clean a CSV).
Day 5: Improve your README so anyone can run the project. Commit and push.
By the end of the week, you’ll have the same outcomes with fewer subscriptions and a clear history of changes. From here, you can work on creating full apps, editing existing codebases, developing internal tools and much more!
Copy‑ready helpers
These tips will help you understand some coding/git standards developers use.
Commit message ideas (help users understand your updates):
feat: add welcome email after signup
fix: prevent double charging on checkout
chore: organize utils into folder
.gitignore basics (these files are ignored when updating your repo, don’t upload sensitive files!):
node_modules
.env
*.log
dist
A good README.md file explains what your project does. You can have Claude Code right this as well.
README starter:
# Project Name
One sentence about what this does.

## Quickstart
1) Install dependencies
2) Start the app
3) Where to find config and important files
Simple troubleshooting
GitHub Desktop doesn’t see changes → make sure you added the correct folder.
“Not a Git repository” → run git init once in the project folder, then re‑add it in Desktop.
Wrong name/email on commits → re‑run the two git config commands above.
Final note
No‑code is great for getting ideas on the screen. But you don’t need to keep paying for it forever. With Claude Code and GitHub, you can describe what you want, review each change, and keep costs predictable. It’s a calmer way to build: fewer limits, clearer history, and control over the parts of your work that matter.
Ready for some more vibe-coding and AI-magic? Subscribe to follow the journey as we learn all that is needed to survive this ever-evolving AI landscape!


Smart approach! Claude Code + GitHub gives you control, history, and cost efficiency while keeping no-code tools for experiments. A practical way to build smarter, not just faster.